How Removing Scratches from your Hardwood
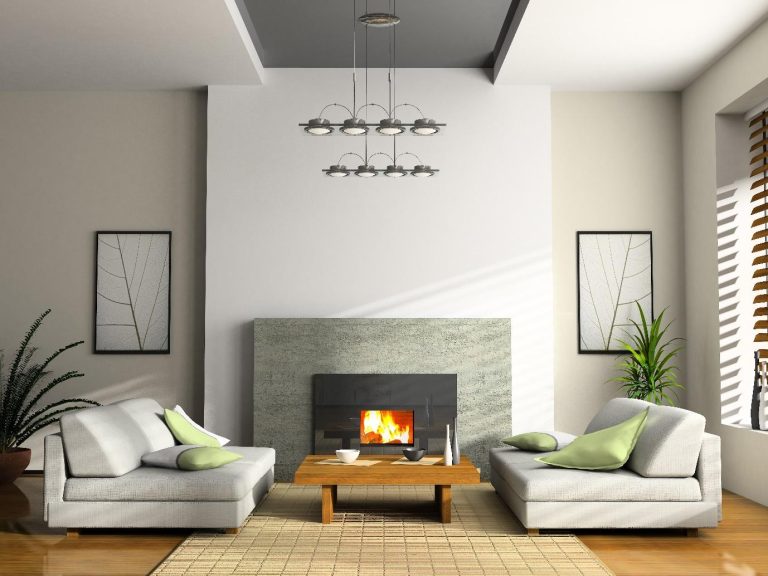
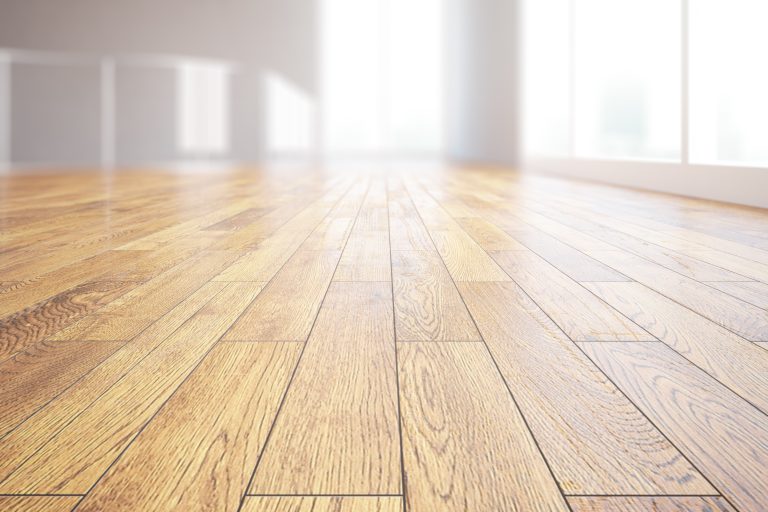
Known to last up to 100 years, hardwood floors have been known as the longest lasting flooring option for centuries.
As durable as hardwood planks are, they are also prone to scratches caused by common activities like wearing shoes indoors, moving furniture, and running pets. Thankfully, repairing scratches in hardwood floors is much easier than many homeowners expect.
To make sure your floors last a lifetime, treat scratches and gouges in your hardwood planks as early as possible.
Surface Scratches
Surface scratches are considered a slight scratch in the finish of your hardwood floor. While these scratches don’t actually damage the timber plank itself, they do impair the visual appearance of the floor.
How to Fix it: The most common way to repair surface scratches is by covering the affected areas with a gentle hardwood cleaner, then filling the scratch with a light coat of hardwood finish.
If you’re looking for a faster approach, look for stain-filled hardwood markers (like this one) at your local hardware store.
Note: Whether you choose to repair your surface scratch with a pen or by-hand, be sure to make sure the finish color and sheen matches before applying it to your floor.
Treating Moderate Scratches
Unlike surface scratches, moderate scratches are hallmarked by the timber plank itself becoming scratched or gouged. When this happens, the protective finish and wood plank is damaged.
Some of the most common causes for moderate scratches include:
- Moving furniture
- Dropping heavy objects
- Wearing shoes indoors
Wood fillers are the most efficient way to repair a moderate scratch.
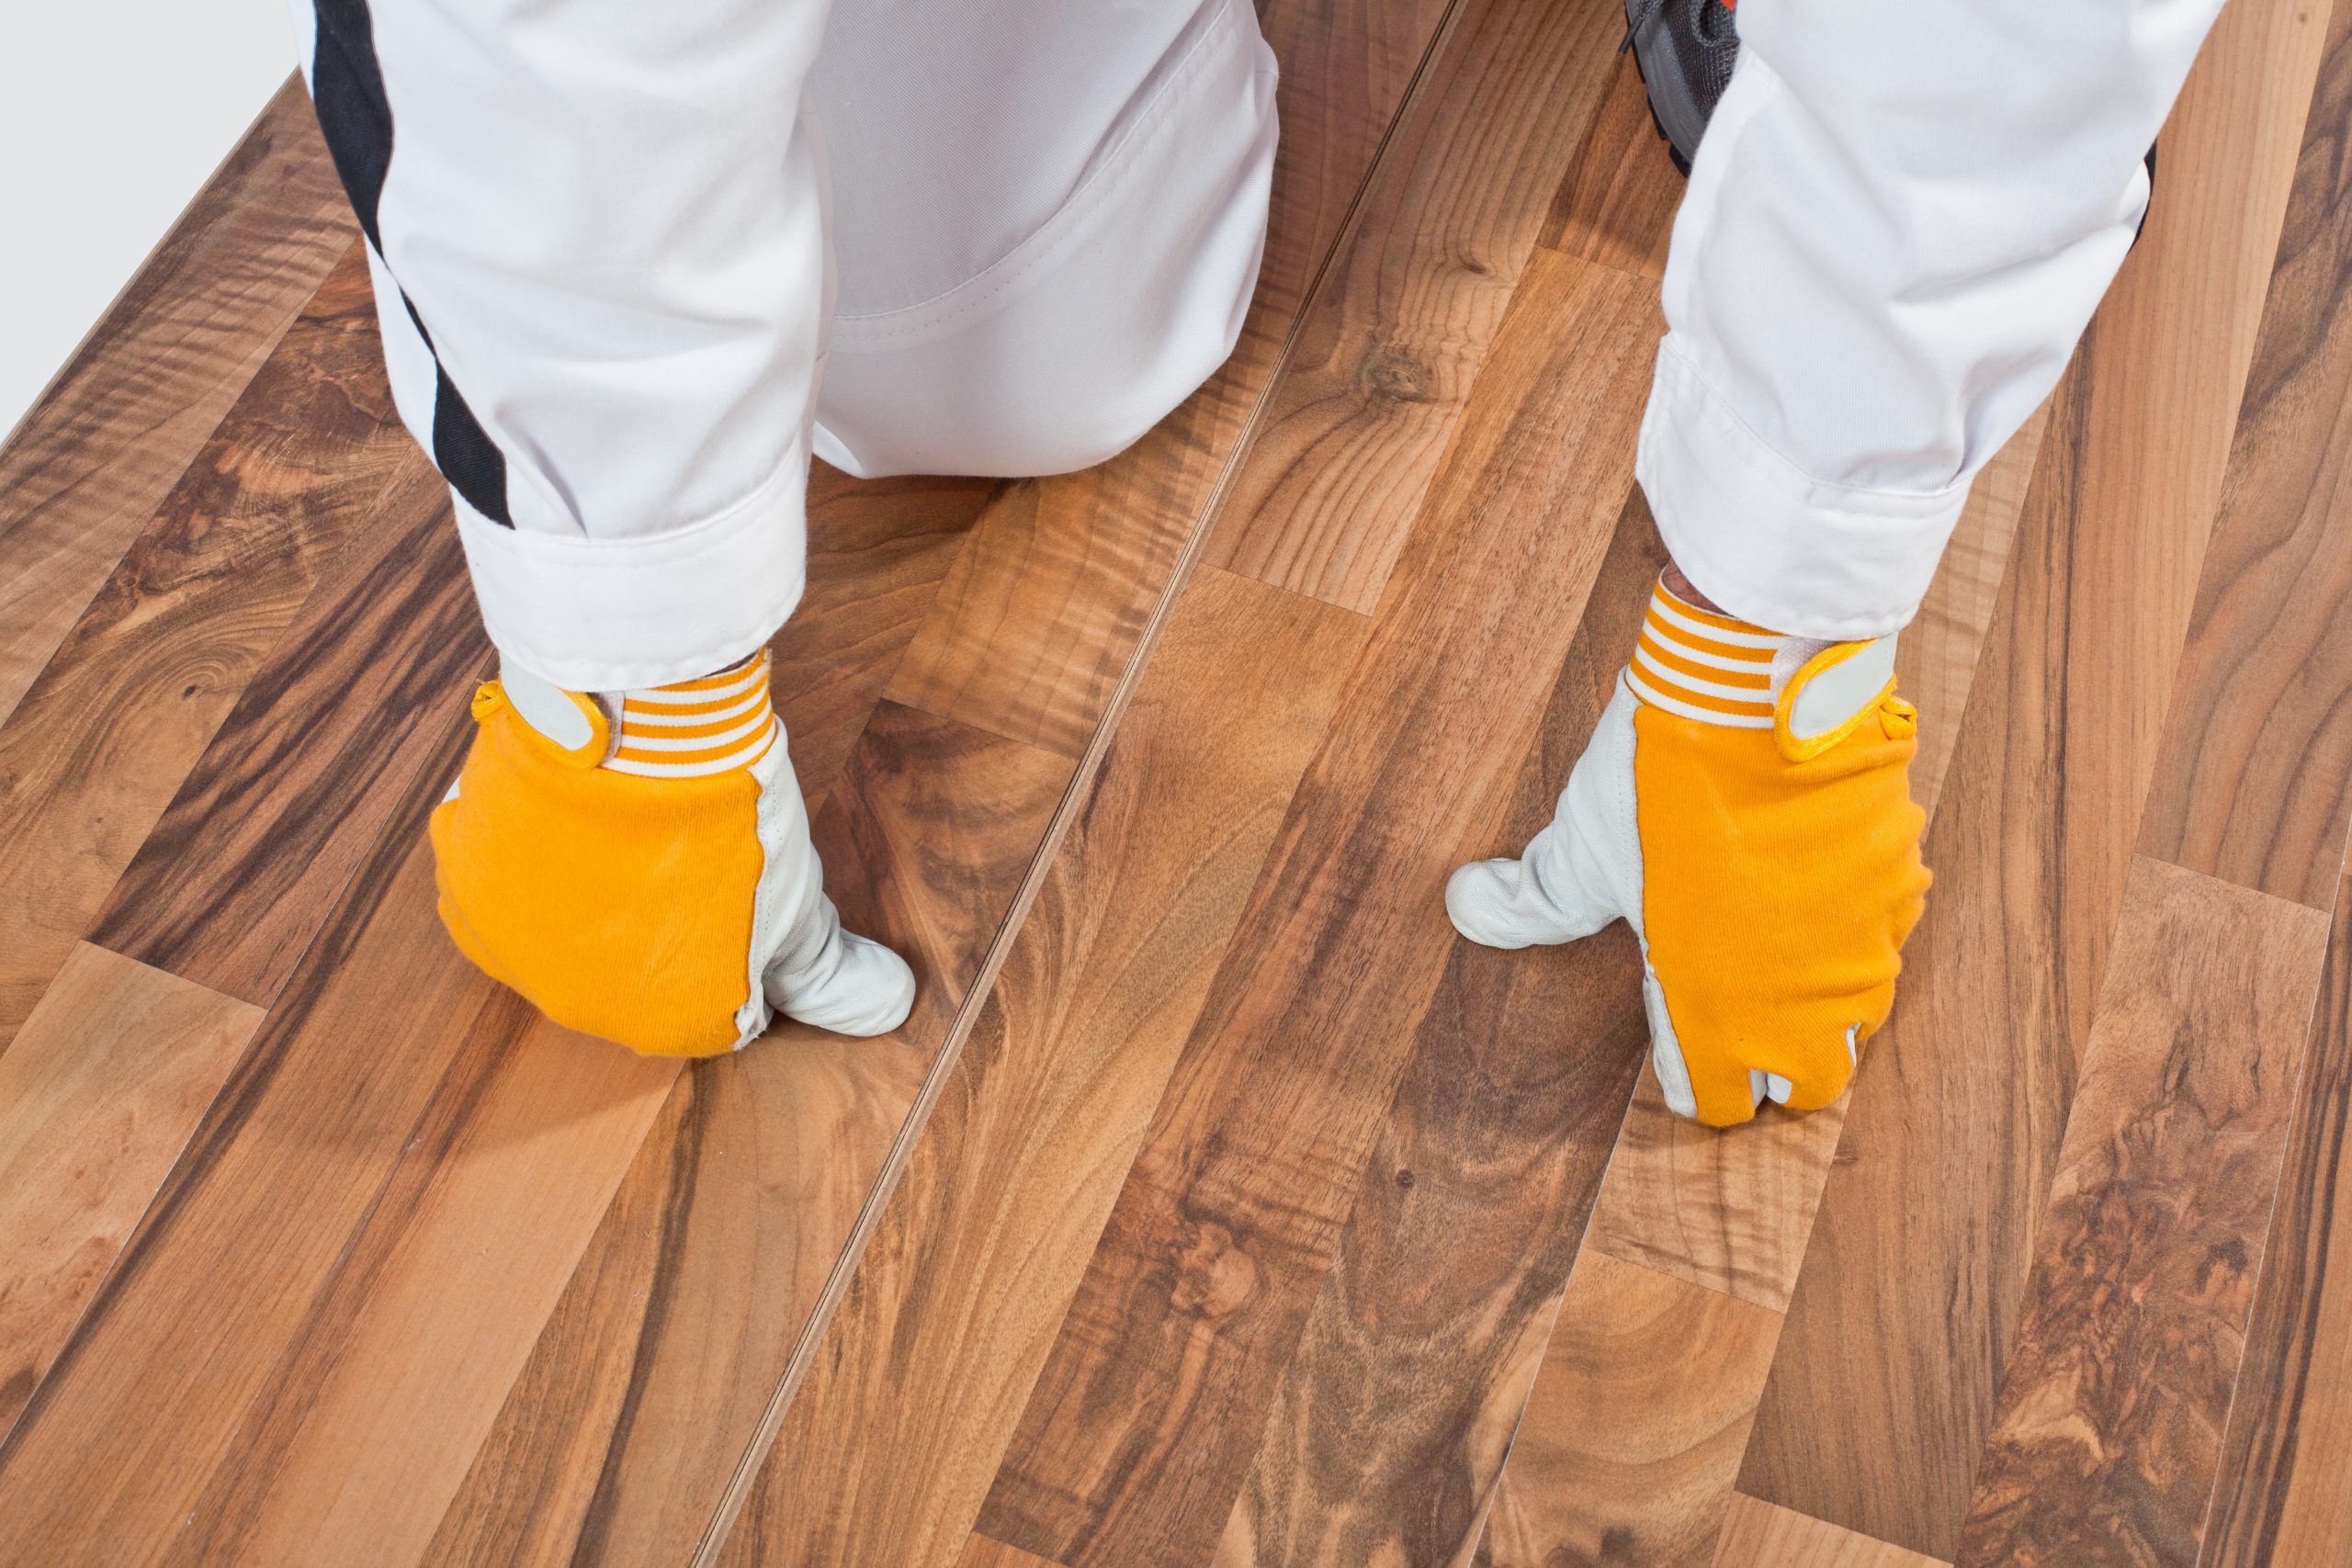
Start your repair by sanding down the affected area until the scratch is only slightly visible. Be careful to keep the surface of the plank even while sanding. After sanding, apply the wood filler to the scratch using a putty knife.
After the wood filler is applied, lightly sand down the surface to ensure it is even with the rest of the plank. Once your filler has dried, apply a small amount of hardwood finish to the area to make it match the rest of your floor.
Treating Multiple Scratches
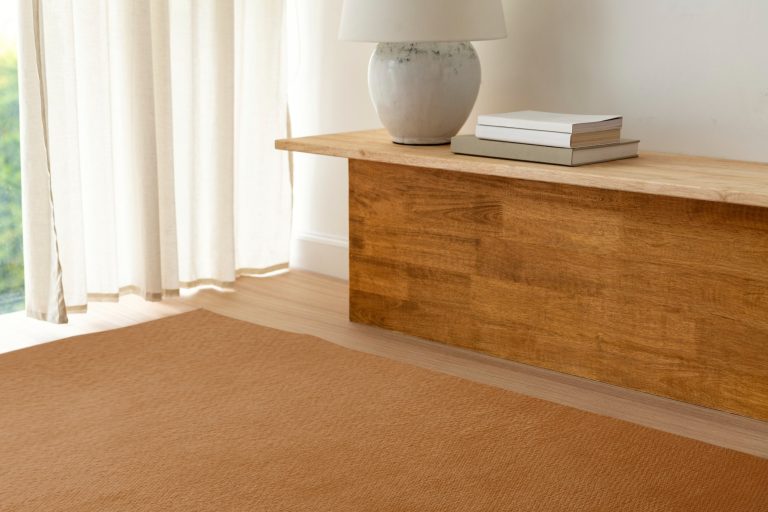
As your hardwood floor ages, many sections will accumulate surface scratches. During this natural wear and tear process, it’s likely you’ll notice scratches of all different sizes. Thankfully, wood flooring is the only floor covering that you can rehabilitate after it’s been damaged.
When the scratches in your floor are beginning to affect the visual appeal of your home’s interior, it’s time to refinish your floors. To do this, you can either hire a local company to handle the project for you, or tackle it yourself during a long weekend.
If you choose to refinish the floors yourself, the four fundamental steps to successfully refinishing your floors includes:
1) Set a weekend to complete the project.
2) Rent a sanding machine for the weekend you’ll be working on the project.
3) Sand your floors, taking care to keep them even.
4) Apply your desired finish and allow it to dry entirely.
Learn more about this DIY project here.
Because hardwood floors are so easy to revitalize, few homeowners find the need to replace their timber floors prematurely. Instead, they can quickly repair the damage to their floor regardless of the types of scratches sustained.
If you have any questions about removing scratches from your hardwood floor or need suggestions on the type of timber to use for an upcoming installation, direct your questions to our staff at 1300 823 958.